Share
Share your validation results with team members and stakeholders.
Goal: Give reviewers access to your Recce session so they can explore validation results.
Recce Cloud
Share your session by copying the URL directly from your browser. Team members with organization access can view any session immediately.
To invite team members to your organization, see Admin Setup.
Command Line Sharing
For automated workflows or CI pipelines, use recce share to upload a state file directly:
recce share <your_state_file>

# With API token
recce share --api-token <your_api_token> <your_state_file>

Recce OSS
For local Recce sessions, use these sharing methods:
| Method | Best For | Requires |
|---|---|---|
| Copy to Clipboard | Quick screenshots in PR comments | Nothing |
| Upload to Recce Cloud | Full interactive session access | Recce Cloud account |
Copy to Clipboard
For quick sharing of specific results, use Copy to Clipboard in any diff result. Paste the screenshot directly into PR comments, Slack, or other channels.
Browser Compatibility
Firefox does not support copying images to the clipboard. Recce displays a modal where you can download or right-click to copy the image.
Upload to Recce Cloud
When reviewers need full context, upload your session to Recce Cloud. This creates a shareable link with complete access to your validation results.
Benefits:
- No setup required for viewers
- Full lineage exploration, query results, and checklists
- Read-only access (secure viewing)
- Simple link sharing via any channel
Access Control
Anyone with the link can view your session after signing into Recce Cloud. For restricted access, contact our team.
Setting Up Cloud Connection
The first time you share via Cloud, you'll need to connect your local Recce to your cloud account. This one-time setup enables sharing.
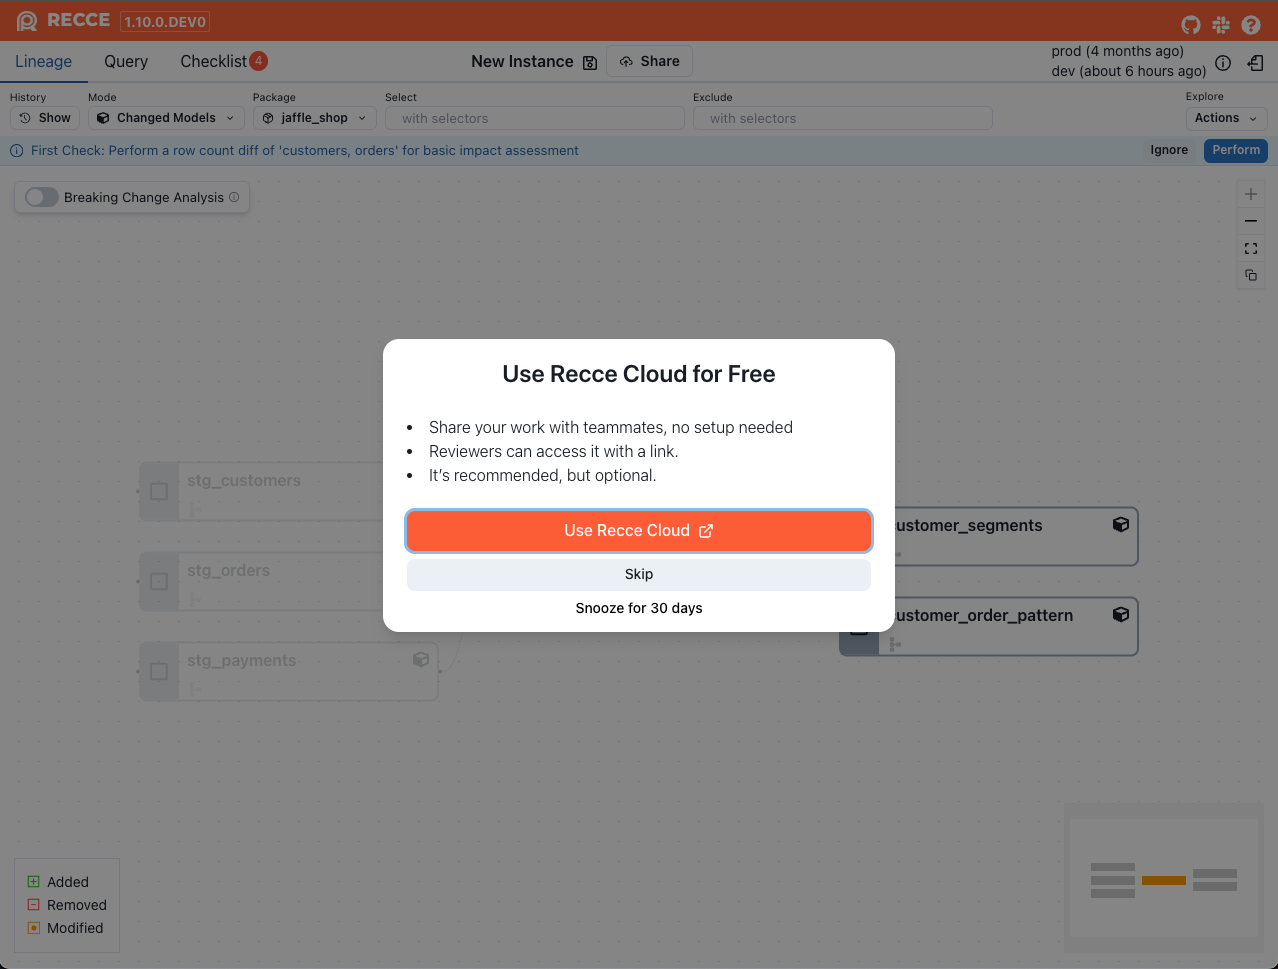
Step 1: Enable Cloud Connection
Launch the Recce server and click the Use Recce Cloud button if your local installation isn't already connected to Cloud.
Step 2: Sign In and Grant Access
After successful login, authorize your local Recce to connect with Cloud. This authorization enables the sharing functionality and secure state file hosting.
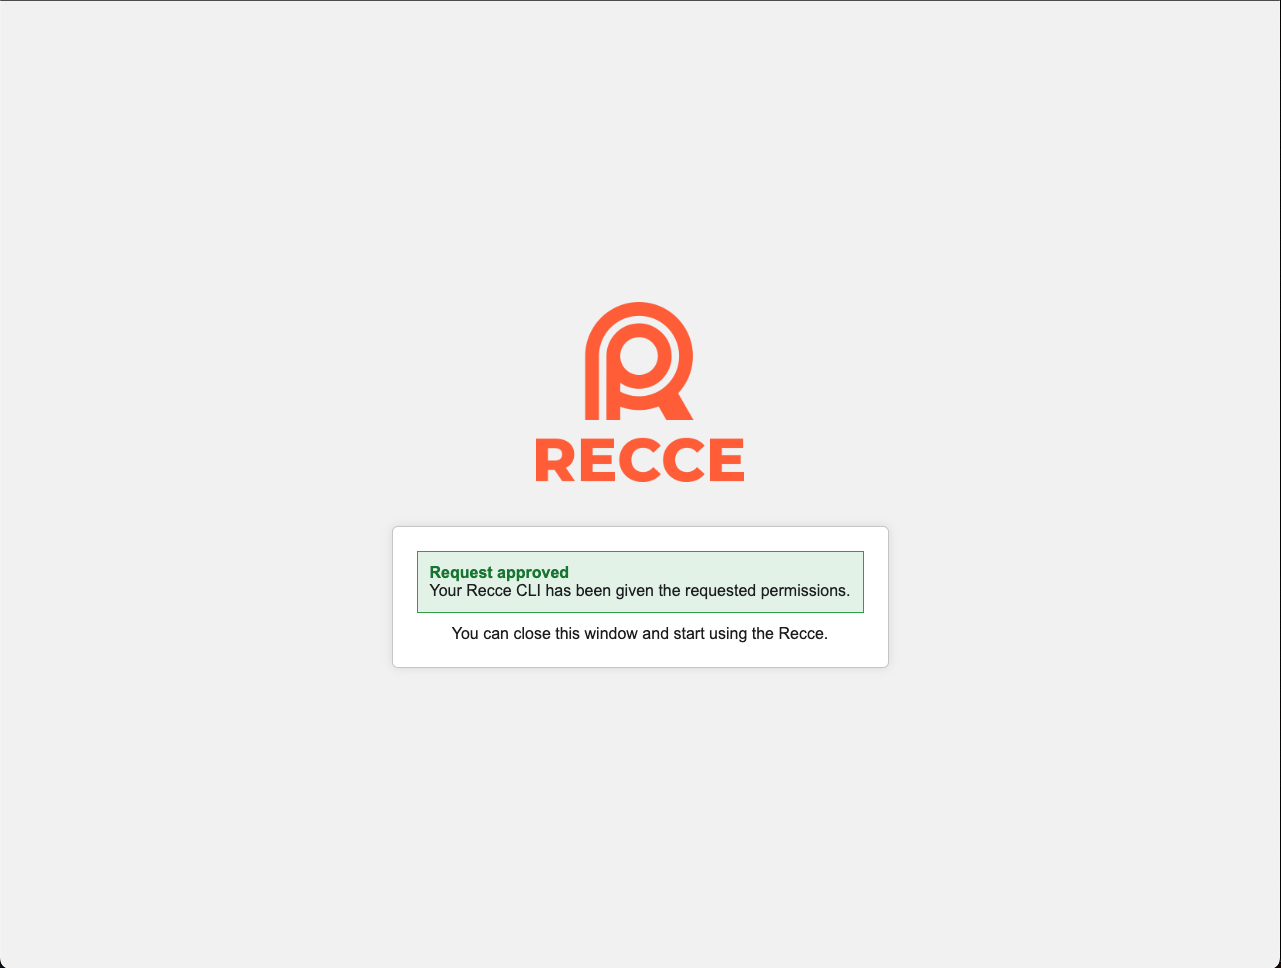
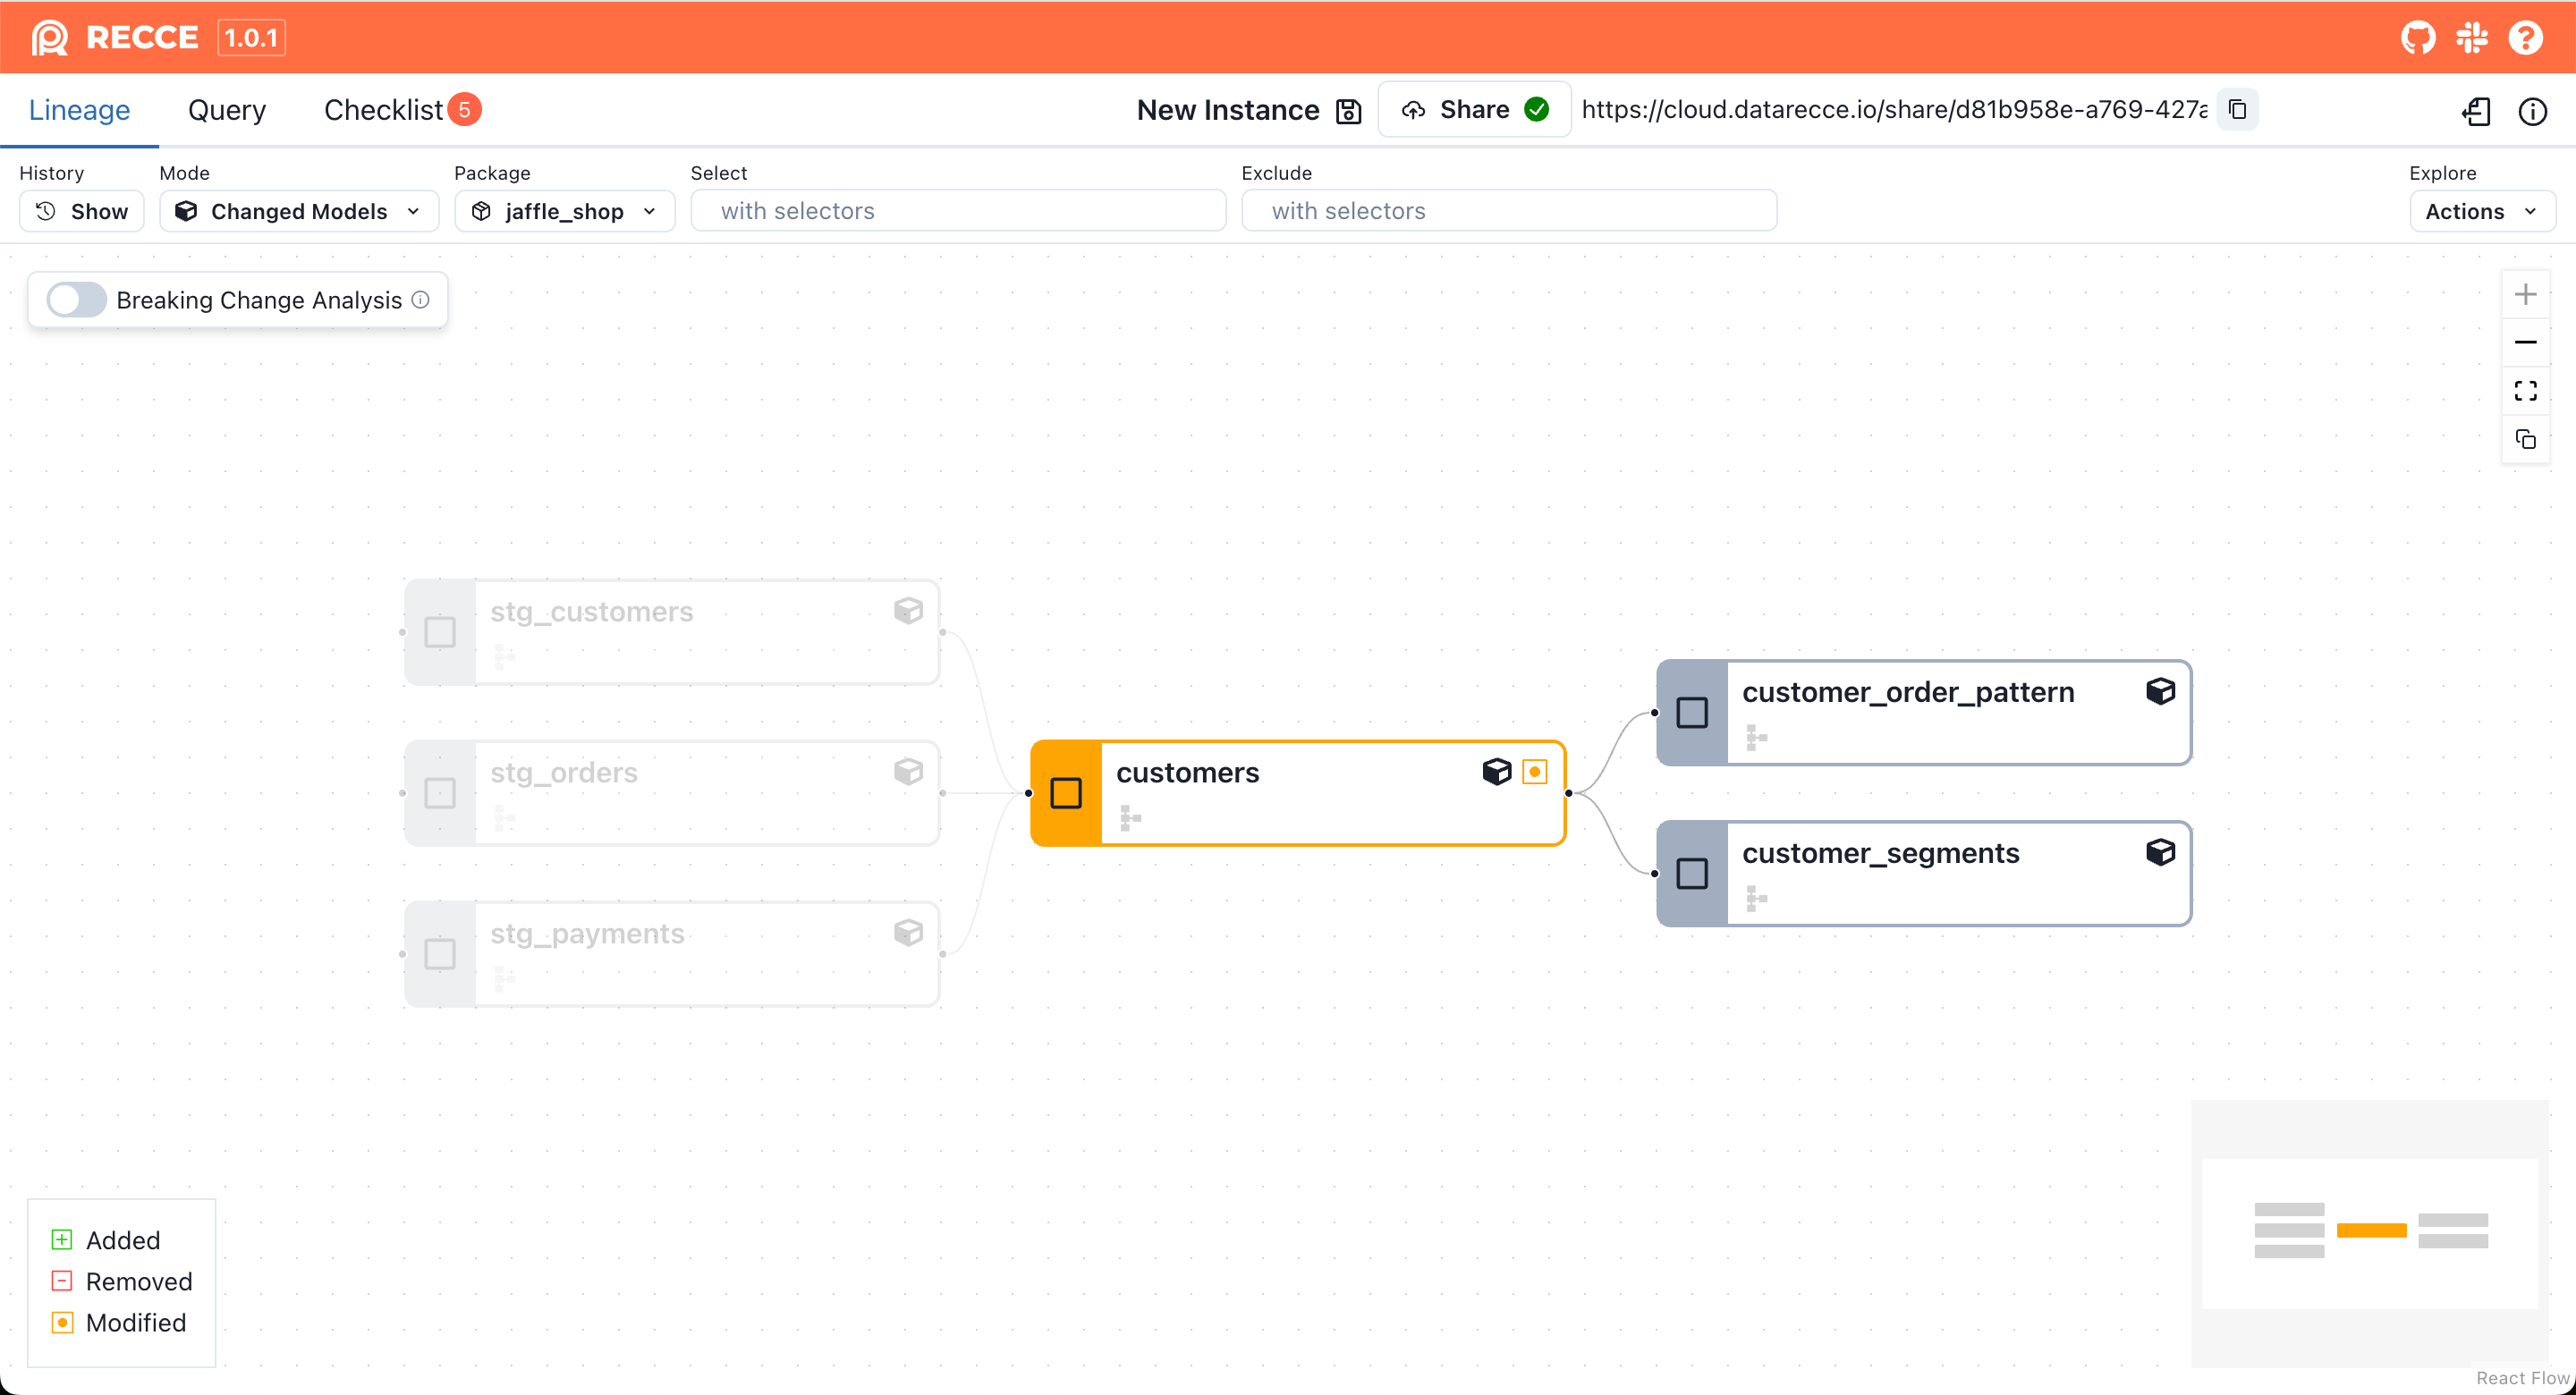
Step 3: Complete the Setup
Refresh the Recce page to activate the cloud connection. Once connected, the Share button will be available, allowing you to generate shareable links.
Alternative Setup Method
You can also connect to Cloud using the command line:
This command handles the sign-in and authorization process directly from your terminal.
Manual Configuration (Advanced)
For containerized environments or manual setup, configure the connection using your API token.
Step 1: Retrieve Your API Token
Sign in to Cloud and copy your API token from the personal settings page.

Step 2: Configure Local Connection
Choose one of the following methods:
Option A: Command Line Flag
Launch Recce server with your API token. The token will be saved to your profile for future use:
Option B: Profile Configuration
Edit your ~/.recce/profile.yml file to include the API token:
Configuration File Location
Mac/Linux:
Windows:
Navigate to C:\Users\<your_username>\.recce or use the PowerShell command above.
Verification
Confirm sharing works:
- Add a check to your checklist
- Share via your preferred method (URL for Cloud, Share button for OSS)
- Open the link in an incognito window
- Verify you can view the session
Related
- Admin Setup - Invite team members to your organization
- Checklist - Save validation checks to share
- Preset Checks - Automate recurring checks